This tutorial is designed in showing you how to create an l33t counter strike source spray using photoshop. But it can be applied to create any FPS spray.
For this Tutorial you will need:
- Photoshop or Extended
- Kremlin Font (In Download)
- Counter Strike Source Font (In Download)
- Vector Brush (In Download)
- Time
- Artistic Flare
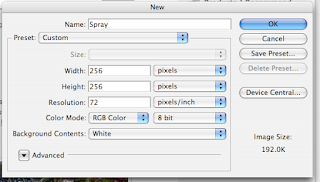
1) The first step is to open Photoshop and create a 256 x 256 sized image. This is the optimum size which is supported by the source engine. Click to Enlarge.
 2) On the background layer fill it to be black, this will the basis for the spray. Click the photo for full version.
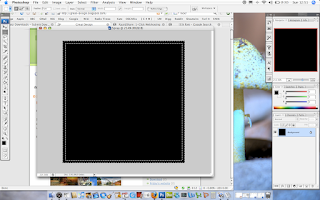
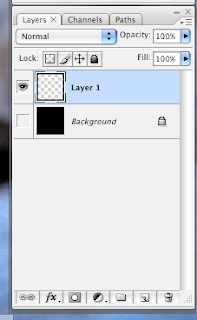
3) The next step is to create a new thin box around the edge, use the Select > Inverse tool to create a thin box around the edge. Apply this to a new layer and fill it black.
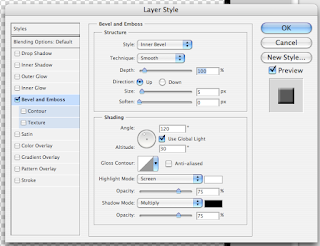
 4) The next step is to add a slight emboss to bring out the edge. Do this on the newly created layer. Click the image for the full size.
 5) The next step is to use one of the vector brushes which you can download in the the pack available here. Make the brush white and add a couple of clicks to the background or new layer. Click to enlarge.
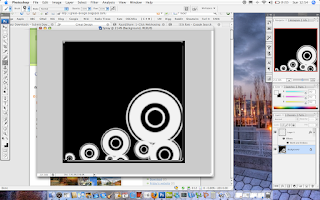 6) The next step is to add the text to the spray to make it more unique . The text used is Kremlin. You can download it here.
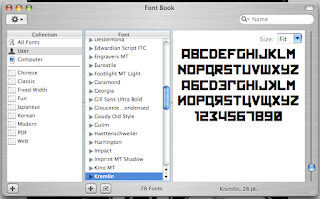
7) As well as this you need the Counter Strike Source Font, it is available with Kremlin in the download pack here.
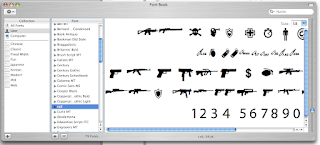
8) After this add some text to the spray. Use Kremlin for your name and the CSS spray as your weapon of choice. As I like using the P90 I have opted to show that weapon, which is key "M". Use text edit or similar to find the weapon of choice.
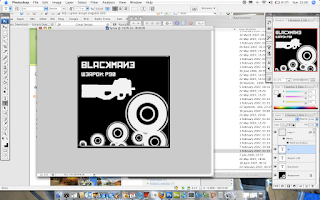
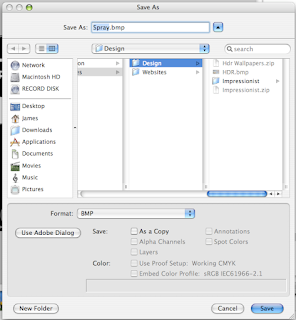
9) Finally flatten and save out the image and import into Counter Strike Source.
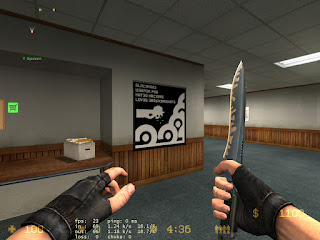
 10) Use it in game. Click for full version.
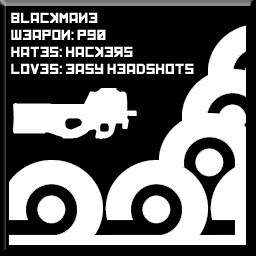
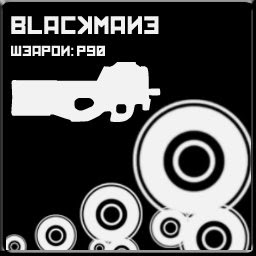
Some spray examples.
You can download all the source files for this project here.

