This tutorial is going to be about creating a very cool and slick looking sun burst effect using Photoshop. The tutorial will incorporate different layer styles and image effects to create an image that will look like the sun is bursting out. This tutorial will take quite a while. Through out this tutorial you don't have to make it look like my image. Create a design that will look good for you.
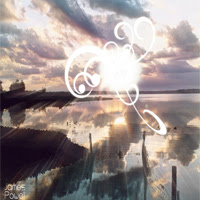
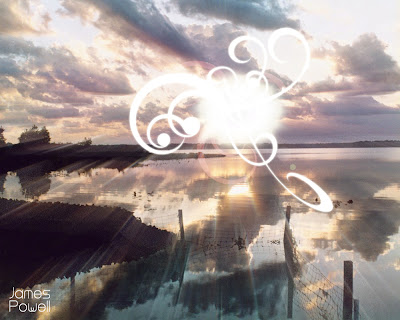
We should be aiming for something that will look like this, except in wont be square.
For this tutorial you will need the following:
A rendition of Photoshop or similar.
GraphicXtra's Custom Shape Pack 28 Embelish priced at £4, or similar.
Steiner font from DaFont
A cool sunset or sunrise image. I found the original image here, his page is here.
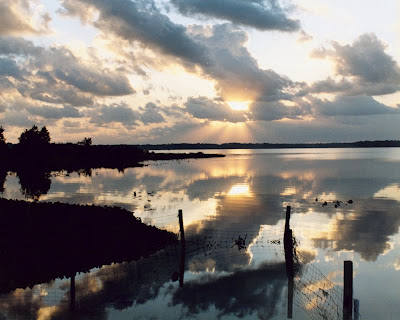
Step 1) The first step is to find a suitable image. It should have a good foreground with something going on. A little bit of shadow and silhouette and importantly a sun. You can find your own in Google images or click the image below for the full version.
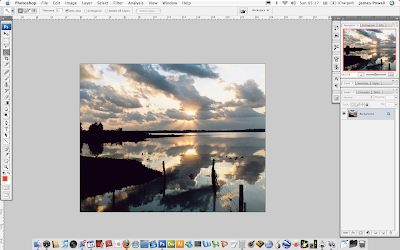
Step 2) This is probably one of the easiest steps. Import/open your image in photoshop. Set the layer (if not already) to a normal layer and not a background layer. If is done by double clicking on the layer. It shouldn't say background as shown in the image below.
Step 3) What I want from the image is more purple/red tones. This is easily done. Create a new layer and using the paint brush select a pink colour and colour in bits of the sky, clouds. Do what you feel.
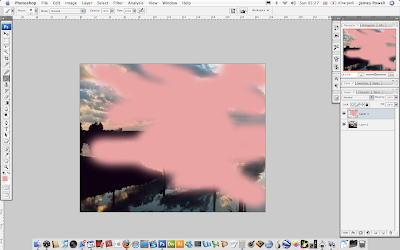
Step 4) Use the layer blending options to change the blending option to colour. Set the opactiy down. I've gone for around 16%. This is supposed to be subtle, so don't over do it. If you compare the image below with the original, there isn't a lot of difference. This is exactly what were are looking for.

Step 5) Do the same with some purple i've added less in this time. Again change the blending options of the layer to colour and reduce the opacity. You can do this as many times as you want with different colours, just set the blend option to colour and reduce.
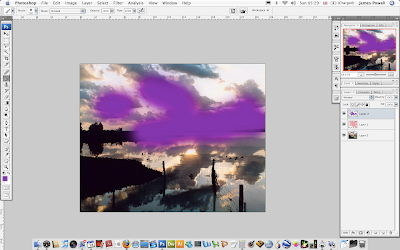
This is the final colouring I have ended up with. You can sort of see the purple and pink layers mixed into the image.

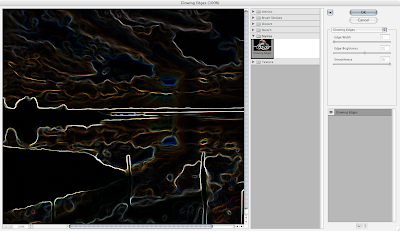
Step 6) This next step is kind of complicated. The plan is to create some light beams using the original layer. First duplicate the original image onto a new layer. We are now going to use the Glowing edges filter. This is located in Filter > Stylize > Glowing edges. Set the options as 1 and then about 11 and 15 for the next to sliders. Press OK, when you are done.
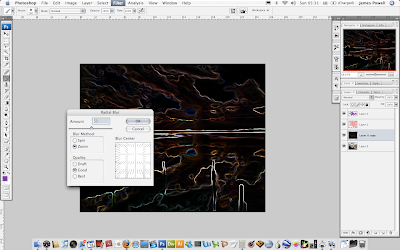
Step 7) The next step is to change the light beams from the shape they are to a point from which they source. This is done through the radial blur function. Go Filter > Blur > Radial Blur. A dialog box should pop up. Change the source from spin to zoom. This step involves a lot of guess work and undoing / redoing this blur. Move the little diagram in the Blur box to roughly where the sun is. It doesn't have to be dead on, just there abouts. Once you think you have it increase the amount of radial blur. Press OK.
Step 8) One final step is to change the blending option to Multiply. This removes all of the black in the image within a certain range and leaves only the white values.
This is a great tool for nearly any type of effect. You can do the same but the other way around using the screen option. This removes all of the white and leaves the black parts of the image.
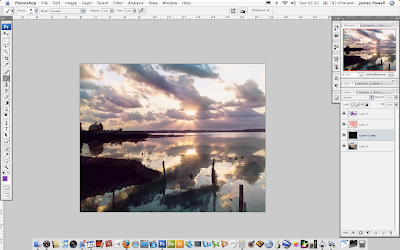
Step 9) This is really an optional step. The idea here is to just change the colour of the rays of light to better match in with the image. Sometimes they look a bit strange and need to be toned down or coloured more appropriately. To change the colour select the layer and go Image > Adjustments > Hue/Saturation. Adjust all the values so the rays of light are more purple blue. Use all 3 sliders to get this effect.
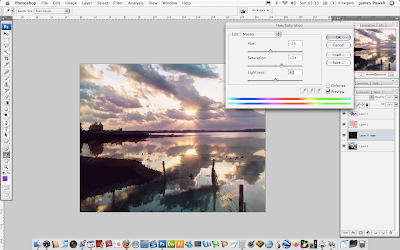
Step 10) Repeat the process of Glowing Edges > Radial blur for a second time. Increase the last two values in the glowing edges window for a lighter stronger rays. I have not re-coloured the layers for a second time and just left them as normal.
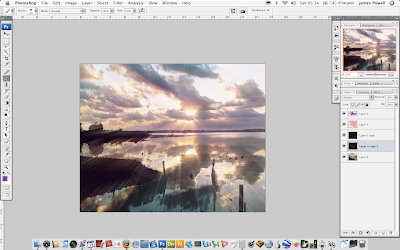
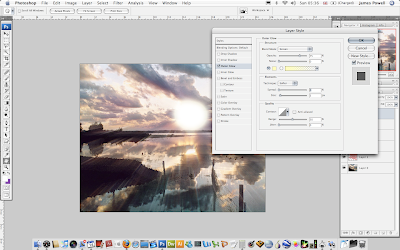
Step 11) This step involves making the sun bigger and brighter. On a new layer again apply some large white soft brush strokes to where the sun is. Either double click on the layer or go Layer > Layer Properties and add an outer glow. This wants to be a creamy white glow. It doesn't want to be too harsh.
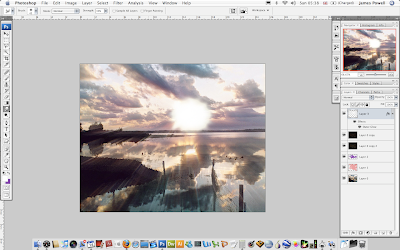
Step 12) Use the smudge tool to smudge and drag out parts of the suns image. This should be subtle and added only a little bit. Do this until you get a satisfactory finish.
Step 13) This step is the first stage in adding the wispy parts of the sun light. I recommend you purchase the Embellish pack from Graphic Xtras' as this is perfect for what we want. You can find the purchase page here, product information can be found when you scroll down.
On a new layers again, apply the wispy shapes it doesn't matter which colour you chose.
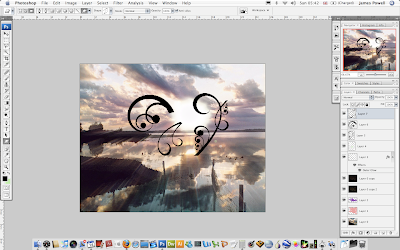
Step 14) Arrange the layers and shapes so they are coming from one point. Don't add to many because it can look over done.
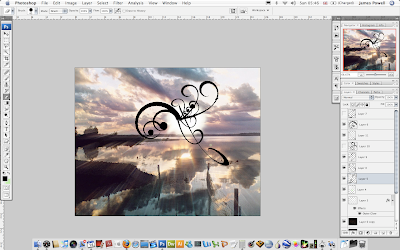
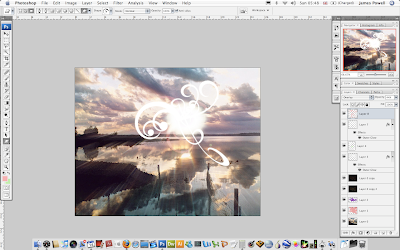
Step 15) Colour the layers white and then merge the layers together, and add an outer glow of a very white yellow. Again make it very soft. Make the outer glow your image looks good.

Step 16) This is an optional step. Create a new layer again and add only one or two shapes. Colour these pink. Set the blending option to Overlay and reduce the opacity.
Step 17) Add some cool sans-serif text. I've used Steiner from Da fonts. You can add your name or any other piece of text. The final step is to export the image as a .jpg and you are done.
For a full size click the image below.
If you like it please show off your creations in the comments.
