Stuff you will need:
Photoshop (or Similar)
Step 1)
The first step is to create you canvas, this can be any size you want it to be.
Step 2)
Add a shape to your canvas to a new layer and colour it.
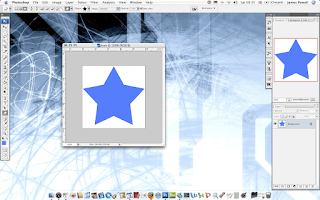
Step 3)
Apply Bevel and Emboss to the layer using Size: 200, Highlight white at 100% opacity and a dark blue shadow at 75% opacity.
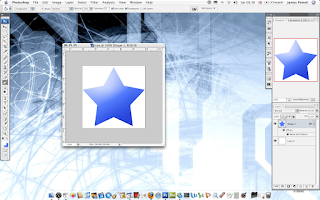 Step 4)
Apply a stoke around the shape, in the base colour you picked, size 4.

Step 5)
Apply an inner glow, white, size twenty.

Step 6)
This part becomes a little tricky, you need to create a new layer, right click and create this into a clipping mask. Apple a white to transparent gradient. Adjust the opacity as necessary.
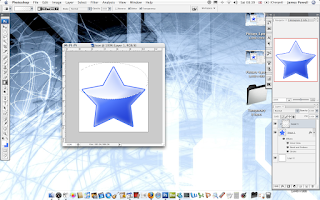
Step 7)
Slightly rotate the layer so its at an angle.
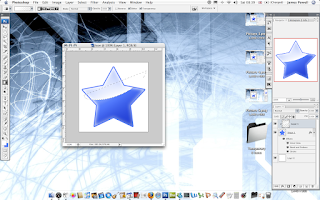
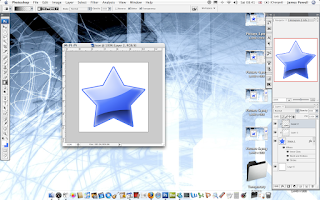 Step 8)
Again, do this the same for a darker shadow at the bottom, adjust the opacity as necessary.
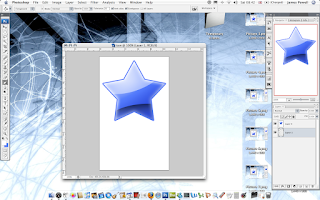
Step 9)
One of the defining points of web 2.0 icons is the reflective shadow. The method I used is to copy the layer, and remove anything except the white, and reflect it as shown.
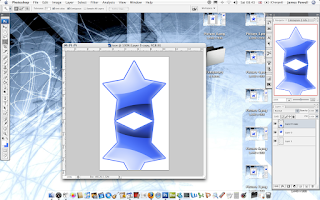
Step 10)
Apply a layer mask to reveal all. And then add a black to white gradient, this hides parts of the image, leaving only the shadow.
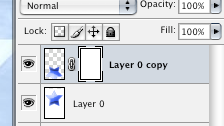 Step 11)
As shown you have a cool web 2.0 icon which you can use on your websites.
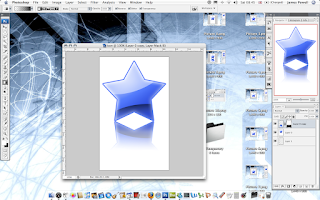
The cool features of having a simple and effective logo is that you can scale the image to any size.