This is a quick tutorial detailing how to create a Grunge Photoshop Brush. Its pretty simple. All you need it Photoshop, some time and a source image to work from. You can use the one provided.
Step 1)
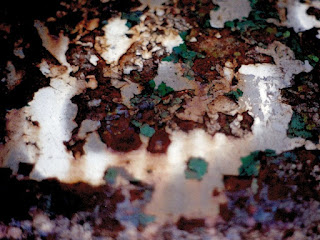
Find an image that you want to turn grungy. It needs to have a lot of texture and interest. Like the one below (Click for full size) I am going to use for this tutorial.
Step 2)
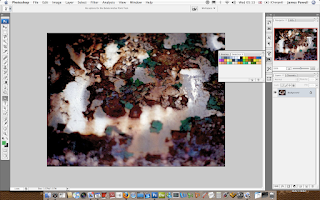
Open in Photoshop
Step 3)
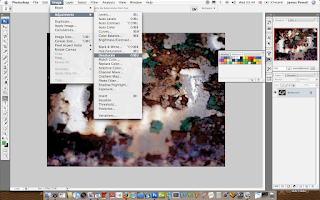
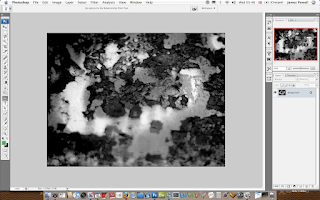
The next step is to desaturate the image. This is done through Image > Adjustment > Desaturate
Step 4)
The next step is to remove some of the image though the levels box. Move the sliders towards the middle and adjust accordingly.
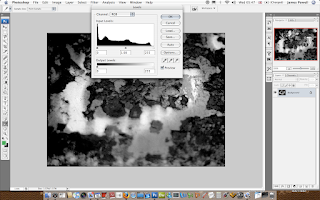
Step 5)
Looks a bit better and has all the elements to great the grunge effect.
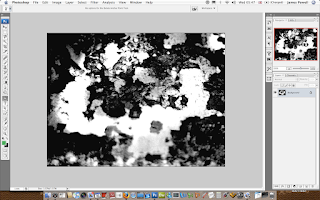
Step 6)
Use the lasso tool and create a shape around your selected area. Go Select > Inverse and then press delete. This leaves the bit you have selected with the lasso tool and removed the parts of the image. The background is white because that is the arrangement of my palette (black foreground, white background) change your palette to the default is your image appears anything different.
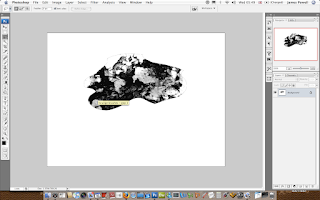
Step 7)
Here i've readjusted the level again. Just to get a good effect of black and white.
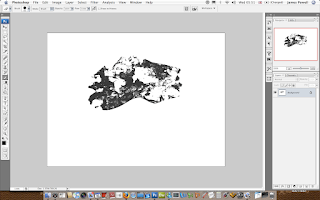
Step 8)
Add a selected box around the outside of your grudge area. This is going to be used for your brush.
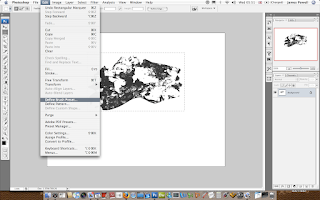 Go Edit > Define Brush Set
Step 9)
Name appropriately.
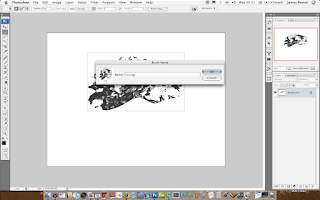
Step 10)
One set up need to do is save the brush out. This is done in the preset manager. If you don't save it out, you can lose it of you reset your brushes.
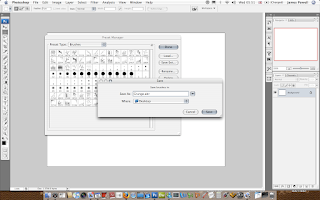
If you find this difficult I have found a good product on GraphicXtras which you can buy. This brush set of 188 Ink and Distressed brushes is great is you use them for these types of applications. You can find the check out page here. The product page can be found at the bottom if you scroll down.