 Hey There
I wanted to create a very colourful and different poster in Photoshop (I want to say 60's era but i'm not quite sure). I've tried to make this as easy as possible to do and doesn't require much skill. Through out this tutorial I have used two shape packs that I have purchased off the internet. I'll offer an alternative when I get to the required stage.
The aim of this tutorial was to create something that is colourful, simple and vibrant. I'm advertising The Powell Blog in the poster but it can be used for nearly anything. It takes about 20 minutes to complete . For this tutorial you will need:
Photoshop
Lines Pack (Optional)
Star Pack (Optional)
Vintage Font (Optional)
All the images are clickable for there full sized versions, and remember subtly is the key the colours don't want to be in your face, they want to blend in nicely. Use pastel colour values and not the extremes (expect Black). If yours doesn't come out perfect it doesn't matter its all practice. If you are stuck please leave a comment and I will try and help. You can download the .PSD at the end.
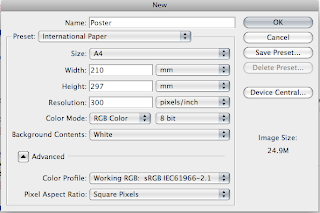
Step 1) The first step is to create your canvas size. This in reality can be any size. I've chose for International Paper > A4. If you are only doing this for practice keep the size small or Photoshop will slow down.
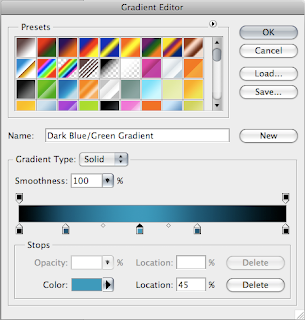
Step 2) Once the canvas loads, select the gradient tool and create a new gradient. The colour values are #000000 for black, #0d5a76 for light blue and #3e9abb for dark blue. Notice the position there is more black and dark blue on the right, this will become the bottom.
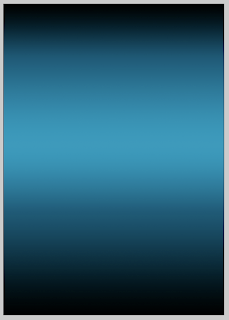
Step 3) Drag the gradient from top to bottom to create the gradient background.
Step 4) The next step is to create some stars. Use the default star shape within the Shapes option (U). Use the colour value of #2e8eb8 for the stars. Add some small and big stars and at different angles. Place appropriately. When you have finished adding the shapes and if you have more than one star layer select all of the layers (minus the background) and merge them together (Layer > Merge Down Ctrl/Cmd + E). When you have done reduce the fill down to 35-40%.

Step 5) The next step involves a shape from the GraphicXtra's shapes page. I've used a star option, its available here for $10 / £7. If you don't want to spend you money then you can use the default one supplied this Photoshop, i'm sure if you searched the web you would be able to find one in a similar style.
The idea of the next steps is to add a star/flare background to the poster. The first step is to apply your shape. The colour value I have used is #022b4a.

Step 6) Use the marquee tool cut off the bottom of the shape. We don't need to have the bottom half. If the background is white on your layer, use the magic wand tool to select the white and press delete to get rid of it.
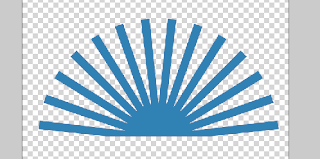
Step 7) Use the Move tool (V) and press Cmd/Ctrl + T to transform the layer. Stretch and position the layer so it covers the whole of the page. Line it up to the bottom
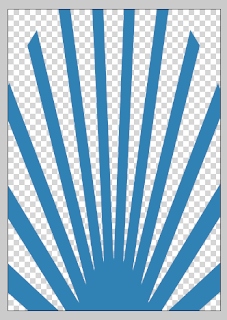
Step 8) Change the blending mode to Soft Light and reduce the fill to 65%. The below image is shown with what me have so far.
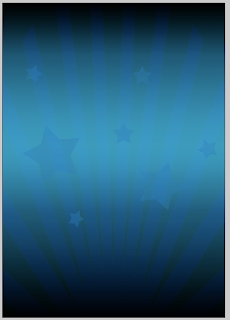
Step 9) This is where the Lines pack from GraphicXtras comes into play. There is one option which has loads of very small thin lines placed closely together apply this to the page (or more than one instance to the page). Use the colour value #0b5f8b.
If you don't want to purchase anything, you can use the rectangle tool to create a very thin rectangles down the page. Duplicate this as many times as you need to create an effect similar to the one below, it may take a while.
Merge the lines layers together into one layer before moving on.
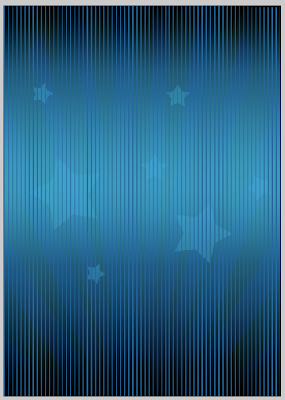
Step 10) One the lines layer change the blending option to Multiply and the Fill all the way down to 15-17%. I like fill over opactiy, because it seems to create a more solid effect, compared to opacity which seems to wash everything out.
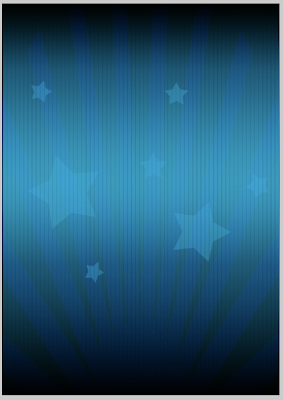
Step 11) Add your text. I've used Vintage from DaFonts. I've made all the text black, the styling will be done in the next step. Notice the main text in the middle isn't centered vertically, the off centre text just makes it look a bit different.
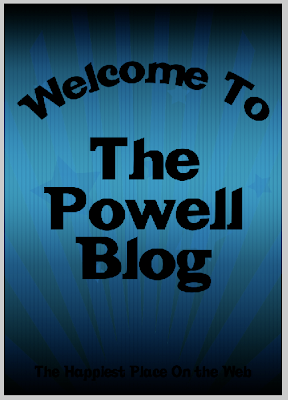
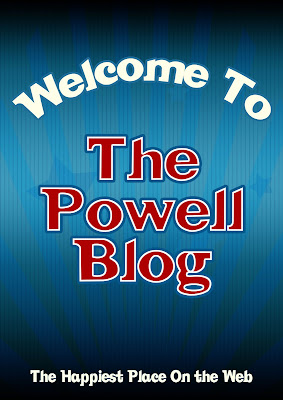
Step 12) Add the styling to the text. For the main text i've changed the colour overlay to a deep red, a thick dark blue stroke used previously, and an inner glow with no range. Change these value amounts to suit the amount and size of your text.
The small text is an off white/beige colour with a small dark blue stroke. These values have been changed depending on the size of the text.
The final poster doesn't look half bad, I enjoyed making it and I hope you did to. Click for full size.
Please leave links in the comments with creations and thoughts. If you are interested you can find visit The Powell Blog any time. You can download the final .psd here.