 This is a very simple tutorial that is going to turn an RSS icon into a grungy version that can ideally be used on a website. You can apply this technique to any image. Its really easy to complete. Click any of the images for the full versions.
For this tutorial you will need:
Photoshop
A grunge Black and White Image (provided below)
A good grunge brush (here)
The RSS icon
Step 1) Pretty Simple this step, download the RSS icon and save it to your hard disk. You can click on it for the full version.
Step 2) Open the RSS icon in Photoshop or similar. Since it is a png it should have some transparent edges. This should be on a seperate layer. If it is placed on the background layer double click it and select ok when prompted.

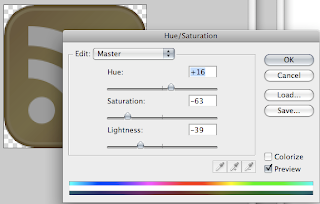
Step 3) To make the icon look more grungy you need to change the colours to suit. I've change the hue to +16, lowered the saturation and lightness to -63 and -39 respectively. Change these values to any you want.

Step 4) To enable some of the layer blending styles later on remove the white bits within the icon. Select the magic wand tool click the white areas and press delete.

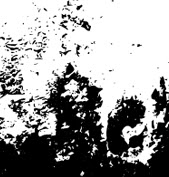
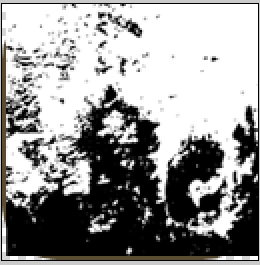
Step 5) The next step is to add the first layer of grunge. Download the black and white image below (click for full size) and place in into your document. Go File > Place. Right click on the file and select rasterize.


Step 6) Select the magic want again. One the new black and white grunge layer select the white and delete it. Change the blending option to Soft Light. The blending option blends the layers together.

Step 7) This is step involves removing some of the black and white of the image. On the original RSS icon select the areas that are transparent. De-select Contiguous from the tool bar at the top of the screen to select all of the areas that have no pixels.
Select the black and white layer with the areas still selected and press delete.

Step 8) The worn out look is achieve very simply. Download and load in the grunge brush (Edit > Preset Manager > Brushes > Load).
Go Layer > Layer Mask > Reveal All. Set the grunge brush to black and in the layer mask apply some grunge brush strokes. Set the opactiy of the brush down so you don't delete a lot at a time. Use the Brush Options (Window > Brushes > Brush Tip Shape) to change the angle of the brush to best suit your needs.
A layer mask is used instead of the eraser because you still preserve the image data and this can be recovered easily by removing the layer mask.

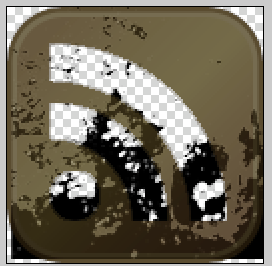
Step 9) Apply some of step 8 and 9 to your image. The result you get looks something like the image below. I'm pleased about it and would look brilliant on a grungy type website.
Click for the full image.

Please leave a comment with links to your creations and if you applied it to your site please drop a comment so I can see what it looks like.