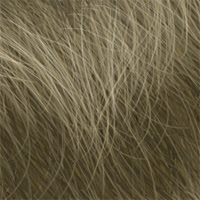
Animals have fur on them. But how do you make realistic fur. This tutorial is going to show you the simple steps needed to draw realistic fur in photoshop. It doesn't take long to do and the results are really good. There is only a few basic steps but the longer you take and the more detail you add the better it will become. You can download the source pack here with the .psd if you want to use it.
Step 1) Create your canvas. The bigger you make it the long it will take you to create a satisfactory piece. I have chosen for this exercise 500px x 500px.
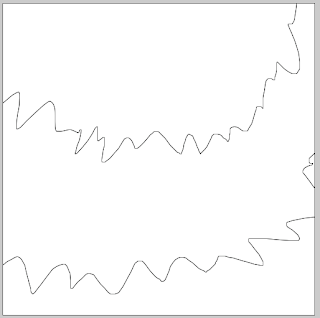
Step 2) On the base layer scribble in the shape of your fur. It doesn't have to be neat, just a general shape.
Step 3) On two layers brush in with a soft brush two brown colours. Light brown on one layer, dark brown on another layer.
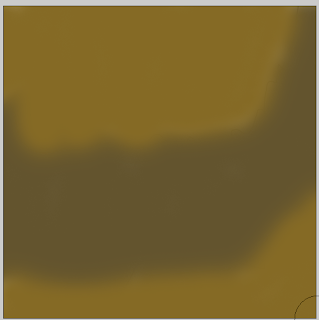
Step 4) Use the smudge tool with a medium size and a strength of 50% to smudge the colour layers. This is going to act as a base coat.
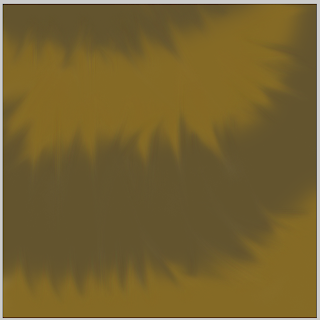
Step 5) On a new layer pick a dark brown colour. Using a 2-3px brush with the airbrush options on start to draw in the hairs. Don't scribble and draw every hair individually. If you want very straight hair draw straight lines, more curly hair is done by making the lines more wavy. I recommend using a tablet for this as the brush strokes would be more natural, as well as easier to do.
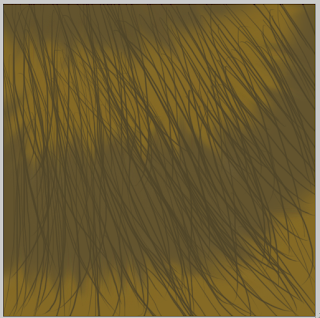
Step 6) Repeat this process again on a new layer with a darker brown. Concentrate on the darker areas with the dark hairs.
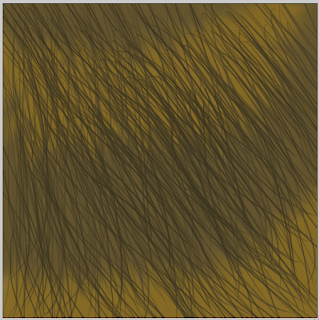
Step 7) It is starting to come alive. On a new layer again draw in light hairs in the light part of the canvas. Continue to do this with different colours and quantities of hair.
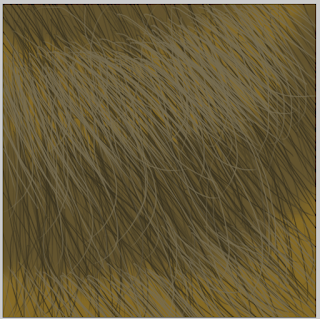
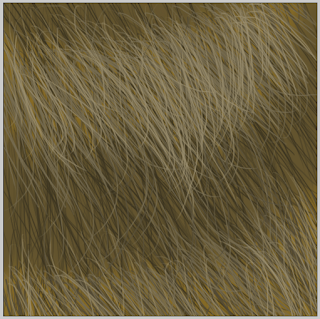
Step 8) The more time you spend the better you will get it to look. The more time and effort will definitely produce good results. Add in extreme colours such as black and white to get a good effect.
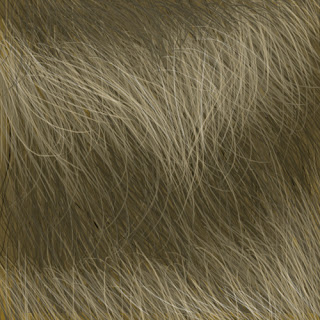
Really cool. I might spend some time on a bigger piece and see what the effects are. You can download the source pack here with the final .psd included.