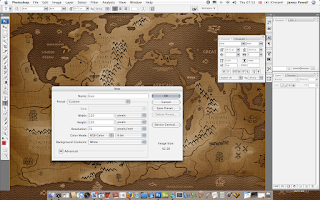
Step 1) The first step is to create your canvas. Use the standard size of 120 x 120 px.
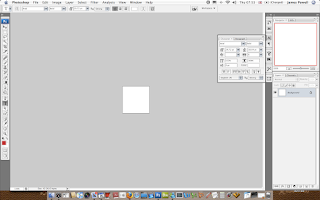
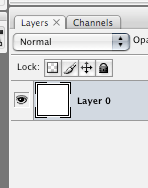
Step 2) Set the layer to a new layer and not the background. This is needed for the effects to be applied.
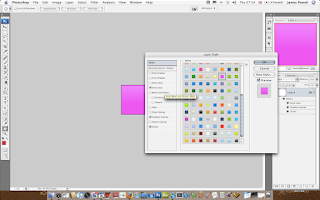
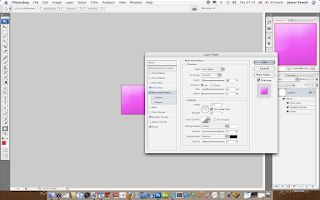
Step 3) Add your desired colour. I've used a style from a Web 2.0 Styles pack. You will need to do subtle adjustments.
Step 4) Some adjustments that you will need to do is add a bevel and emboss. This needs to be very light and added over the top of the style effect.
Step 5) You now need to add text. Although there is an official font that is used, I can't find it for free. Although I have used Tahoma. Any sans-serif substitute can suffice.
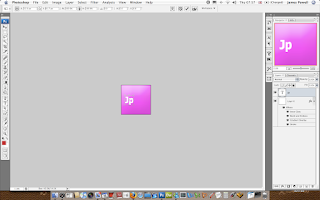
Step 6) Center the text and enlarge to fit. Make sure it isn't to tight around the edges.
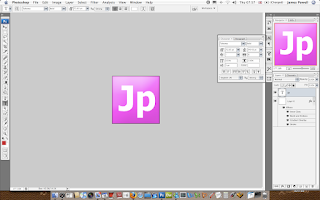
Step 7) At this point you may need to lock the layers so you can transform both layers with out the need to do each layer in turn.
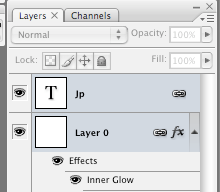
Step 8) Transform the layer so there is a small gap on the bottom and right edge.
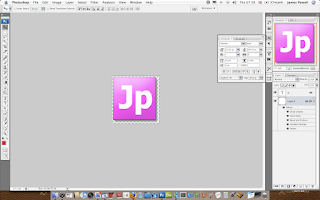
Step 9) One thing that you can do that I forgot is add a very subtle colour overlay to the text. This again is in the style pallet of the Web 2.0 pack.
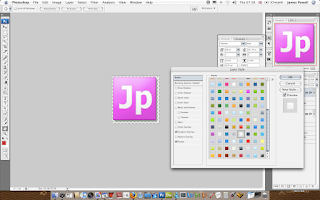
Step 10) Export and you are done. Looks Ok.