I'm continuing on with my epic tutorial on all thing Aperture and this time it is the round of adjustments pane on the right hand side. This quick tutorial is going to tell you what each of the knobs and dials does. In a couple more lessons I will be going onto how you can use this to modify for photos. You can click any of the image to enlarge.
The adjustments pane is located on the right hand side of the window. If it is not visible you can go Window > Show Adjustments. This pane should open to the right in the Aperture window. You can use the flippy arrows to show or hide parts of the panes.
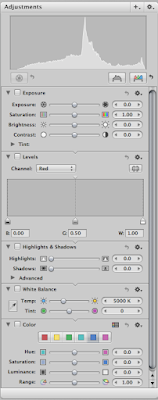
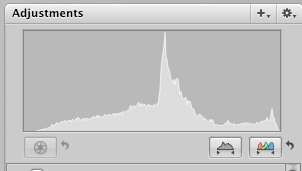
At the top of the pane is the histogram. This is used to view the levels of the colour values in any given photo. It is very useful if you want to remove some dark or light edges off the colours.
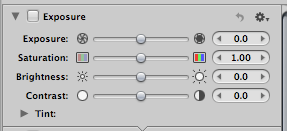
The exposure panel is designed to change the values given in a RAW file. These are the fine controls for an image quality for exposure, saturation, brightness, and contrast.
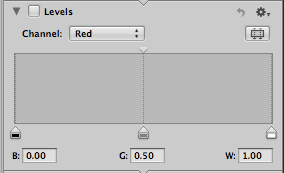
The levels pane is very important as this controls the histogram at the top. You can change the levels for every colour value. A tool to learn how to use.
The highlights and shadows works again with the levels pane and controls the light and dark values of an image.

White balance is a very useful tool for making sure the white point of an image is correct and you get true colours. This pane is used for changing this value in RAW files.

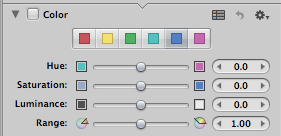
Colour pane is a tool that is useful for changing a specific colour value. For example if an image is to red, you can use the red colour change the hue, saturation and the other values to get this to what you want.
 This is the end of this tutorial, I didn't have much time to complete this so I am sorry it is short. You can easily view the previous tutorial by visiting this link. If you need to purchase a copy of Aperture please visit the Apple Store for more information.