I've decided to move away from the Aperture Tutorials (They will be back tonight) and do a tutorial that will make your name look starry and shiny. It makes it stand out and look interesting. Makes you name or site look important.
Anyway to do this you need:
If you are read then continue to read on. This tutorial doesn't take long.
Step 1)
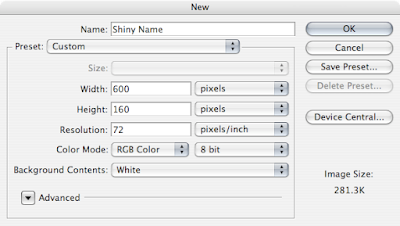
Any first step is to create a canvas in Photoshop. This can of course be any size you want. I've chosen 600 x 160 pixels. You don't need to take to long how big the canvas is going to be.
Step 2)
You will be working on the default layer and adding styles to create interesting effects. In Photoshop double click the background layer. This dialog box should pop up. You can either except the default name.

Step 3)
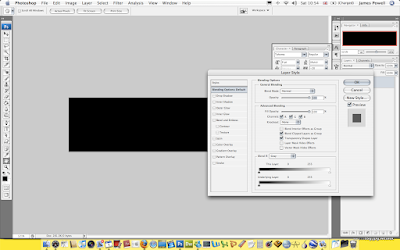
On the background fill the layer black. This would be the base colour for the background. The background its self is to be glossy with a coloured boarder.
Step 4)
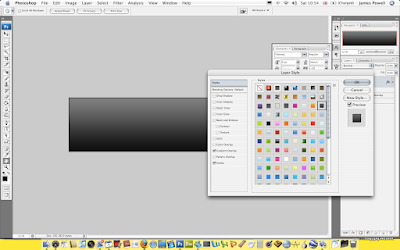
Use the Web 2.0 Styles pack and use one of the black styles. These styles are short cuts for creating layers styles.
Step 5)
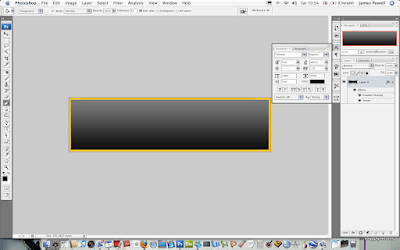
One of the defining looks of your name is the boarder. This colour is also going to match the colour of the text. So you can pick what ever colour you want.
Step 6)
Using a cool styles font you can search Google for many free fonts. Place this into the middle of your canvas. If you picked a font you like you can keep it as you have. I wasn't to keen on mine so I changed the text around.
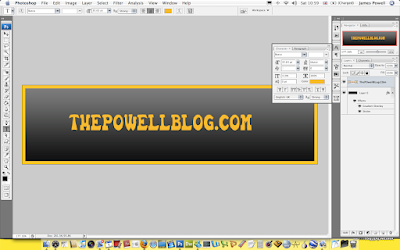
Step 7)
As I didn't like how the font looked I used the Marquee (M) and the Magic Wand (W) to move the text shapes around.
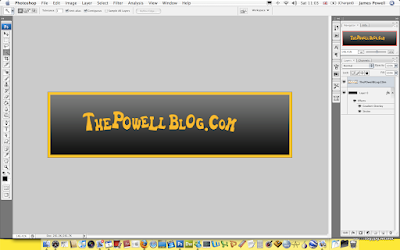
Step 8)
You now need to move the text around on the page. Use the transform tool to stretch and move the text about so it lines up on the page. All you need to do is make sure it lines up on the page and looks good.
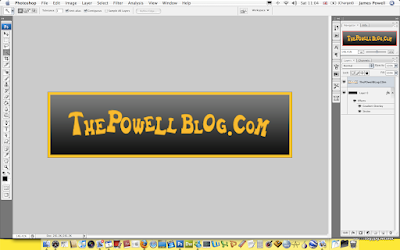
Step 9)
Again use the layer styles to add styles to the font. White inner glows and large bevel and embosses are what I have used.
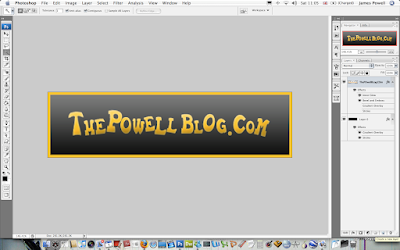
Step 10)
To add a highlight to the image create a new layer. Right click on this layer and select create clipping mask. On this layer use the oval marquee tool to select an area around the top of the page. Use the space bar to move the selection around on the page to get a good looking highlight. Fill this white with the paint bucket (G) use the opacity and fill slide bars to lighten the highlight.
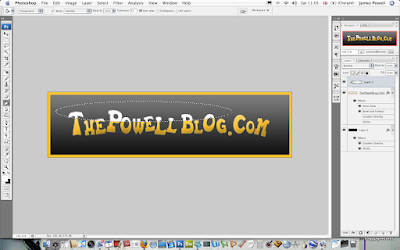
Step 11)
Do the same but add a shadow and fill it black.
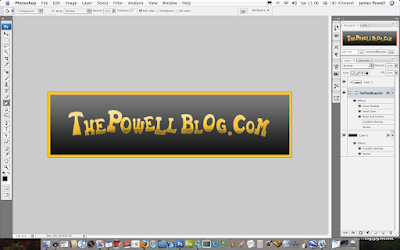
Step 12)
The next step is add stars to the layout. These add the glitz and glamor to the name. A good website to check out is Graphic Xtras, the link takes you to the product page as they offer the brush set which I use for $10 or £7. Its a steal. If you want to really splash out you could buy the whole set, they vary in price for the hundreds of brush you can get. They are here, here and here. Other wise you could just draw them in.
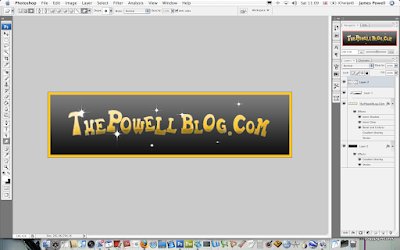
Once you have added in your stars you are done. Heres mine below.

If you want to visit The Powell Blog you can click the link.