I'm a bit bored with giving you a tutorial on the interface in Aperture, so i'm going to give you a quick tutorial on modifying photos and what happens when stuff changes in the adjustments window. If you need a copy of Aperture please go to the download store to purchase a copy.
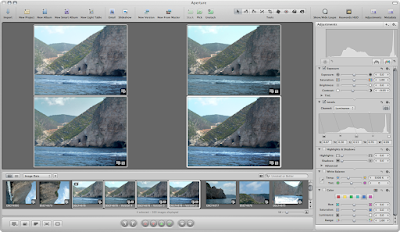
Any way moving on, i've hidden the projects pane from the window menu. I've picked a suitable photograph that could perform some minor changes.
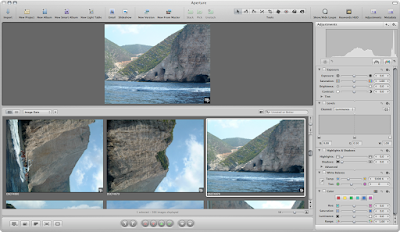
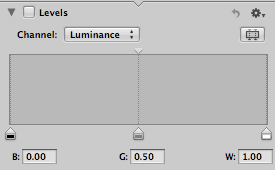
One of the biggest tools for changing photos is levels. This tool changes the levels (well duh) of a photograph, and is good for making a photo look better and fuller colours. One tip is to make sure that your monitor is accurate in its colours. A wonky coloured monitor will not help when adjusting images.
Once you make any changes or select a check box within Aperture another copy will be made. This is put into a stack (more explained in later tutorials). This will be visible in the image browser.

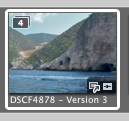
If you notice in the top right hand corner a number will be displayed, this is due to the amount of images in a stack. Every change to the master will great a new copy and increase the stack number.

If you notice you can change the levels and although it makes subtle differences these are visible.
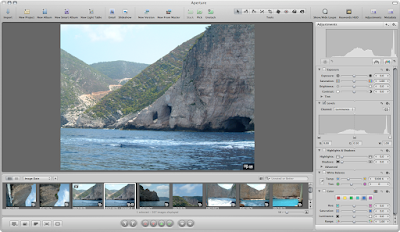
If you use the compare option you can compare the different images in the stack.

As you can see the more changes you make to the master the more copies in the stack that are created.

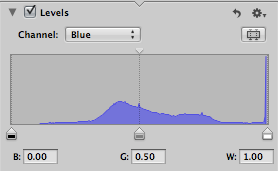
Within the levels (which is one of the best tools) you can change the individual colour properties, the more changes you make the more you can modify the image. All changes are kept (unless you delete the version).
 Again is you use the compare option, selecting 4 images, you can visibly compare the changes you have made. Click the image for the full size version to sheet what has happened.
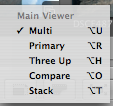
The view options in the bottom left corner in the control bar depicts what options you can see in the viewer.
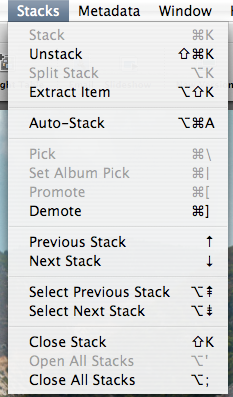
As you can see after you have adjusted an image you can promote and image which is picked (more on stacks in the next tutorial)

If you want to close the stack so you don't have hundreds of the same image visible use the Stacks > Close Stack option.
The four images have now become one.
Now I no that this was a bit brief but I will explain all the different options that you can do to an image in later tutorials.