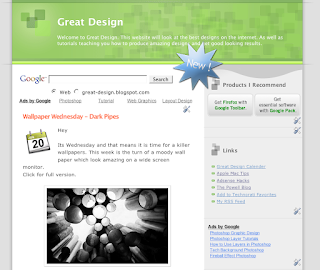
This tutorial is all about creating and interesting and effective label which you can use to advertise parts of you website. For example you could place this above new content. To see the full image click.
For this tutorial you will need photoshop or similar, and the Web 2.0 layers and gradients pack which you can download here.
Step 1)
Create your canvas, I suggest a large size so you create lots of detail, the final image can be scaled down later.

Step 2)
The next step is to draw your shape, this can be any shape. Use the preset shapes in Photoshop or download some new ones off the internet. It doesn't matter what colour it is.

Step 3)
Next apply a layer style to the shape, I recommend using the Web 2.0 layers and gradients pack, here. Although you can make your own.

Step 4)
As well as this I suggest using a bevel and emboss. Use are large size and reduce the opacity of the shadow.

Step 5)
Add you text. I've used Trebuchet MS. Use the character palette to move the letters into a good looking spacing.

Step 6)
Again, use one of the white layer styles in the pack and apply this to the white text.

Step 7)
You now have a cool looking Web 2.0 label to add to your web pages.

Step 8)
One optional step that I suggest adding is a drop shadow, this adds a lifted effect to the label.

Step 9)
Flatten and remove the background and save as a .png. This can now be added to any web page.

The final label.
 As you can see it looks great on any web page.
